Minnesota Department of Transportation

511 Travel Info

Bridges and Structures

Design, construction and maintenance resources

Do It Right! Lessons from the field not to be repeated
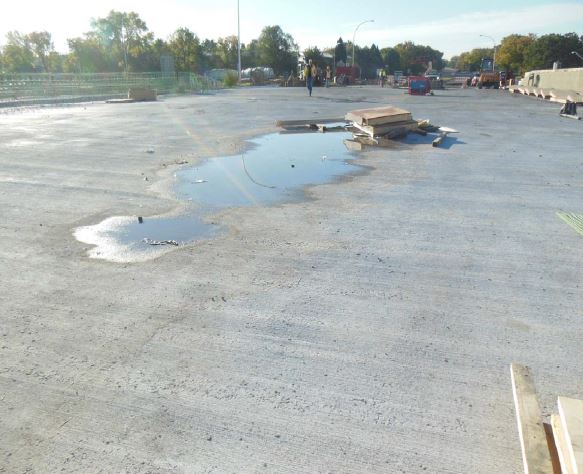
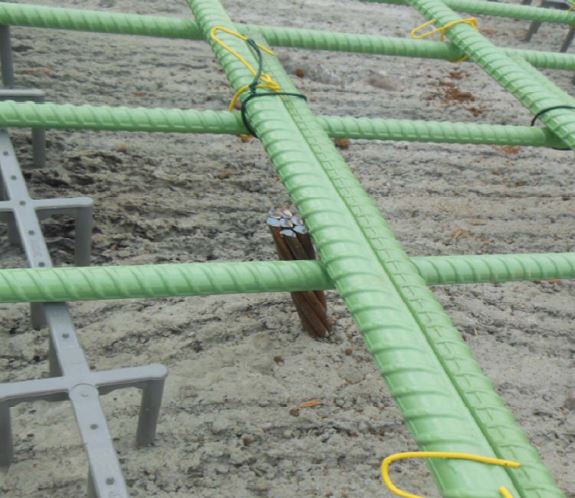
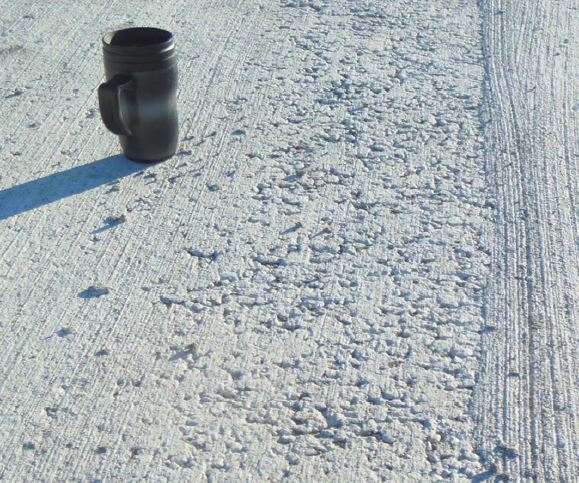
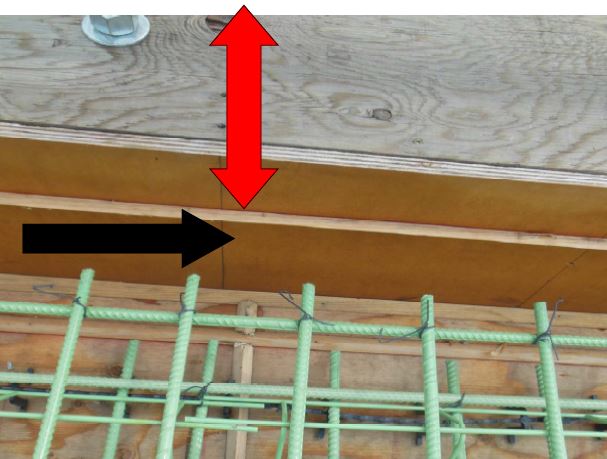
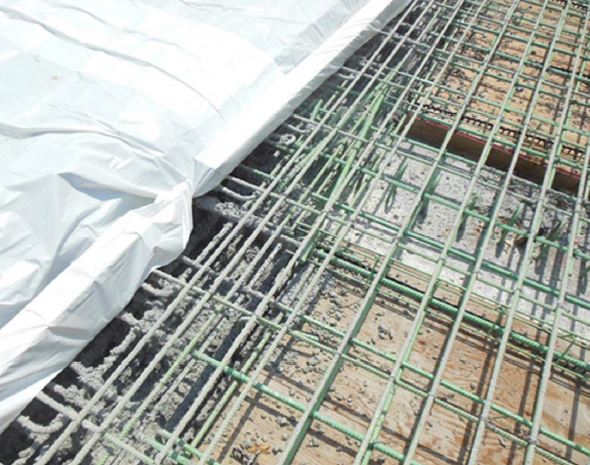
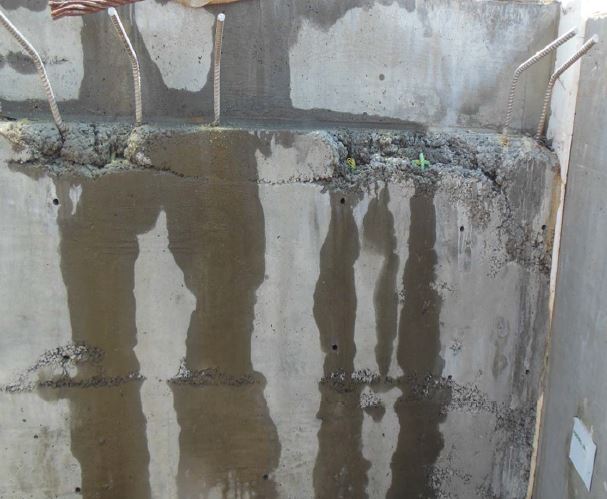
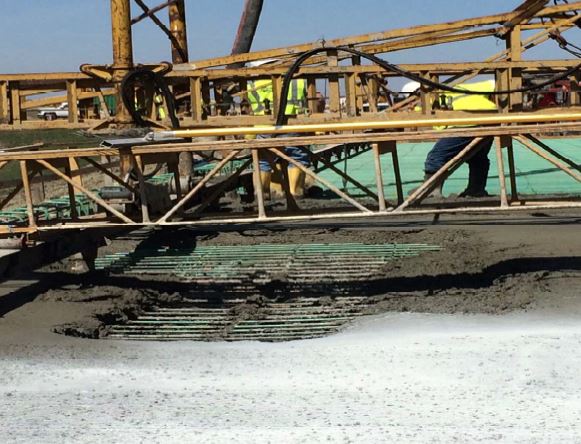
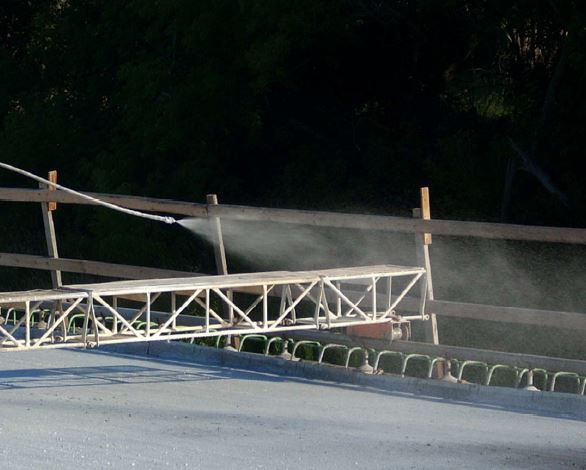
Deck

Deck
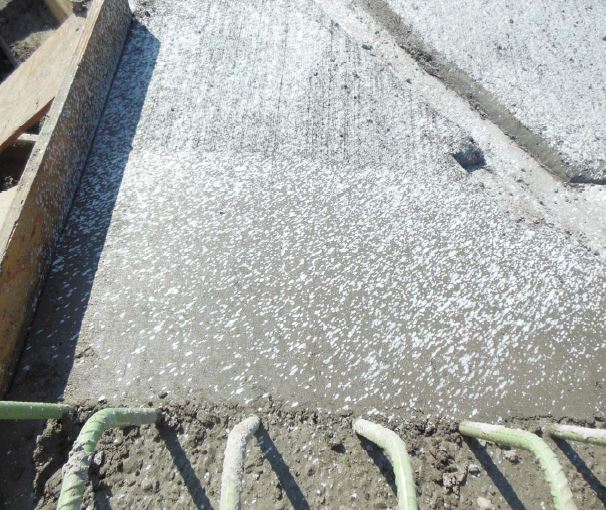
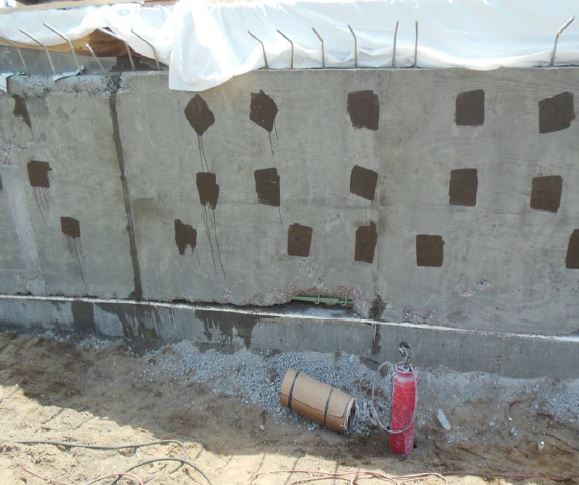
  • When using AMS, provide a uniform, solid white, opaque coverage of membrane cure material on exposed concrete surfaces (equal to a white sheet of paper).
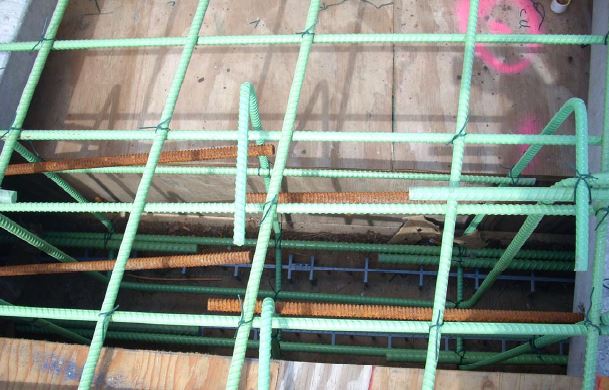
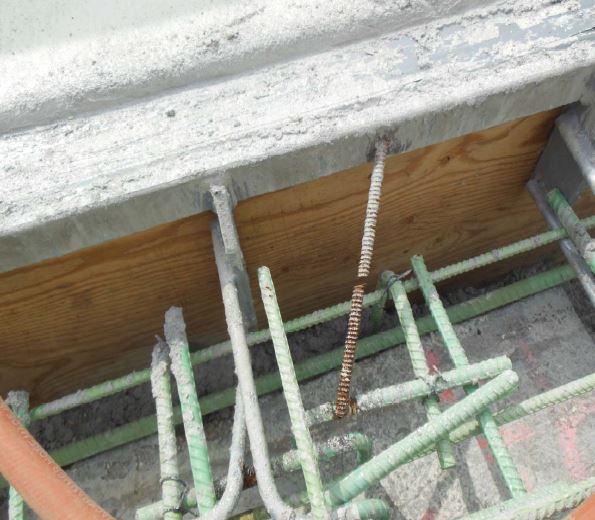
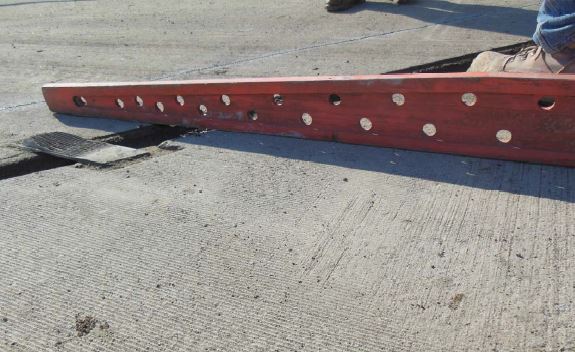
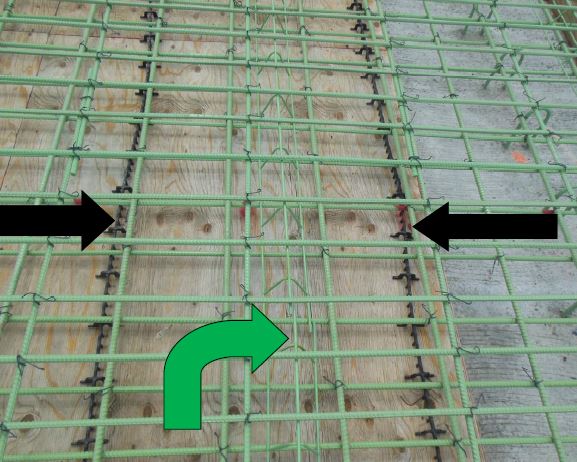
  • The barrier dowels should have been covered with wet burlap before spraying cure.
Deck
  • Make sure the Contractor has drained all the old fuel from last year out of the tanks, prior to placing the first deck of the year!
  • Look at what they got out of the tank when the Bidwell died mid‐pour on this deck.
Deck
  • The reinforcement isn’t always parallel to the beams.
Deck
  • In all areas of the exposed deck, the Contractor will be required to provide positive drainage.
Deck
  • Spec 2405.3.K:

“Completely remove or cut off
flush any uncoated items, such as used for static safety lines, anchors, lifting loops, etc.,prior to casting deck.”

Perhaps we can allow a 1/2”, but never into the bottom mat!

Deck
  • Spec 2401.F.3.b(4) Final Finish Texture calls for:

1) A surface free of porous spots and irregularities

2) A surface that does not vary by greater than 1/8‐inch on a bridge deck slab when checked with a 10‐foot straight edge placed longitudinally.

Correct surfaces outside of the specified tolerances prior to texture planing the deck.

Deck
  • If the Bridge has a large skew, place concrete parallel to the skew, but strike off concrete parallel to traffic lane.
  • This will load the beam lines as designed and help prevent the deck from ending up warped and having bird baths.
  • If you load the beams randomly (as below), you will end up with bird baths.
Deck
  • Need Chamfer Strip up the edge of the deck!
  • Control joint in barrier will be located here, too.
Deck
  • Of the 27 people in this picture, a few are inspectors and one is from the concrete plant—but a lot of time, effort and concrete was wasted until the air entraining was dialed in correctly.
  • Nobody wants to be surprised when you're pouring a deck. A trial batch is critical!
Deck
  • Getting ready to cover deck with poly, as another foot of snow is forecast!
  • Just because April 15 rolls around doesn’t mean you can just pour a deck without providing some protection.
Deck
  • We need at least an inch of engagement between the beam stirrups (or Nelson
    Studs) and the bottom mat reinforcement.
  • If you have stool heights over 5” deep, call the Bridge Office for instructions.
Deck
  • When a bridge deck is poured in stages, use plywood or tarps to protect the reinforcement and plywood sheathing for the next stage from becoming coated with excess concrete.
  • This will save a lot of cleanup time, and you’ll end up with a better product.
Deck
  • Current specs no longer allow uncoated ferrous material (except Nelson Studs) in our decks.
  • Welding is not allowed on either epoxy-coated reinforcement or on galvanized steel.
Deck
  • It’s critical that the concrete is high quality when pouring a deck — both for the deck's sake and for the contractor, who is paying for a lot of people and equipment without return.
Deck
  • The contractor formed the top of the end diaphragm here, and didn’t realize the concrete didn’t fill in all the voids until the forms were stripped!
  • Best to leave a “window” in the top form, so you can make sure it’s consolidated and full.
Deck
  • All-thread bar used for thru-beam end diaphragm reinforcement must be coated.
  • NEVER use rusty all-thread anywhere in a bridge deck.
Deck
  • Rusty all‐thread welded between extrusion and green reinforcement!
Deck
  • Make sure the Nelson Studs (or beam stirrups) engage with the bars in the bottom mat.
  • If your stool are over 5” deep, make sure to order “hat bars”. (For more information, call the Bridge Office.)
Deck
  • Make sure to check the delivery tickets and call the plant if you see the mix start to segregate like this.
  • Either the contractor forgot to put the sand in this load or it is a very wet load being over‐vibrated.
Deck
  • Try to have the deck slab concrete placed in a line across the deck — generally in a line parallel to the substructure units, so the beams are loaded as evenly as possible.
Deck
  • Inadequate vibration was used when pouring the end diaphragm here.
  • Voids need to be chipped out and repaired on both the top and bottom of this end diaphragm for a semi-integral abutment.
Deck
  • Just because the deck is going to get planed doesn’t mean you can leave the surface looking like this.

“Produce a final surface free of porous spots”

Deck
  • Make sure that the hanger brackets are kicked against the webs of the beams — so they can’t rotate and drop the deck forms into the stream or roadway below!
Deck

ca. 2008

  • Look! They were already placing pre‐wetted burlap on the deck immediately after placement quite a few years ago already.
Deck
  • Protect both the barrier reinforcement and the deck surface where the barrier will be installed from AMS cure spray.
Deck
  • When pouring sidewalks or medians on top of finished bridge deck, use lots of sandbags to support the forms.
  • We don’t allow holes in the surface of the deck.
Deck
  • If your monolithic bridge deck is skewed, load the beams and run the Bidwell parallel to the substructure units to prevent “warping” the deck.
  • Here, the contractor failed to load the beams evenly and ended up with a duck pond in the middle of the deck.
Deck
  • In order to insure a 1-inch clearance between the plywood and bottom reinforcement, place slab bolsters within 6 inches of the edge of beam flanges.
  • Spec 2472.3.C.2:
    Here, the bolster is over 10 inches from the beam.
Deck
  • The texture planer made a “cheese grater” out of the plowfinger fewer than 3 feet from where the blades didn’t even leave a scratch in the deck!
  • Make sure to check the last 20 feet of the deck with a string during the dry run.
  • Have the surveyors give you the elevation of the centerline and gutter lines on the other end of the approach panel, and pull the string from there to 20 feet on the bridge deck.
  • This will ensure that the joint will be at the correct elevation and will give you a good ride.
Deck

Notice anything wrong?

  • The high chairs should be "stacked" over the slab bolsters!
Deck
  • Try to keep everybody from walking in the concrete after it has been vibrated!
Deck
  • We tried to find out how well a gang vibrator would consolidate concrete to help mitigate deck cracking — but we had a hard time keeping the workers out of the mud!